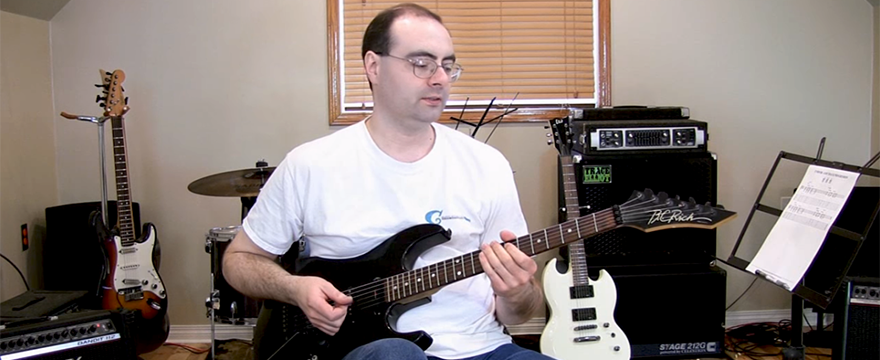
Learning to improvise on the guitar can take a considerable amount of work. We need to understand; scales, arpeggios, phrasing techniques and fingerboard layout. A great way to start this is to take a single note and map it out across your entire fingerboard as octaves. In the video I use the note of, “C.” The lesson breaks down a method for how to solo more effectively using a map of octaves.
LEARNING TO IMPROVISE – PHRASING:
There’s a list of skills that are involved with performing guitar solos and the list has a lot to do with developing an excellent connection between left and right hand technique so as to easily execute good phrasing control.
This means that the control over phrasing devices, (note embellishments and articulations), is an important topic related to soloing that is very important to develop a great deal of musical command over.
Important Phrasing Devices include:
• slides
• bends
• hammer-ons and pull-offs
• legato technique
• vibrato, (with the finger and the whammy bar)
Having the skill to phrase melodic lines with a decent level of control over chord tone targeting can help a guitar player achieve a solid sense of knowing which notes are the best notes to be used during an improvisation.
During any spontaneous improvisation, a guitar player needs to focus on creating well connected melodic phrases. Each phrase should blend nicely from one statement into the next.
During a guitar solo, each melodic line should flow smoothly into the next one and every musical sound should connect with the listener, (as if each phrase is telling a complete musical story).
OCTAVE PATTERNS:
Octave pattern templates are one of the most important ways that a student of the guitar can use to develop their awareness for soloing all over the fret-board.
Octave patterns isolate an individual note name on the neck and help organize it’s related note names all along the fingerboard across every possible pitch location.
Each octave shape will end up forming unique note templates that can be used for nearly everything that we end up playing on the guitar. This includes; chord patterns, scale shapes, and arpeggio shapes.
LESSON DOWNLOAD:
The download for this lesson contains a 3-page PDF handout, along with an MP3 jam-track. Begin by practicing the octave pattern shapes included in the handout. Study all five shapes every day until they are memorized.
The long-term goal is to establish an understanding for how each octave connects one to the next along and across the entire guitar neck.
When all of the “C” octaves (in the handout) are fully understood, expand upon this study to learn how the octave template location system can be applied across the fingerboard using the note of, “E.”
Use the scale page in the handout to learn a few “E” minor scale patterns on the neck. Apply the principles of this lesson to create improvised melody lines over the included, “E Minor” jam-track MP3.
Eventually, expand the scope of this study so it can function with any other note along and across the entire guitar fingerboard.
-
Click the button below to download the lesson handout
(access to lesson material will require a FREE membership)
