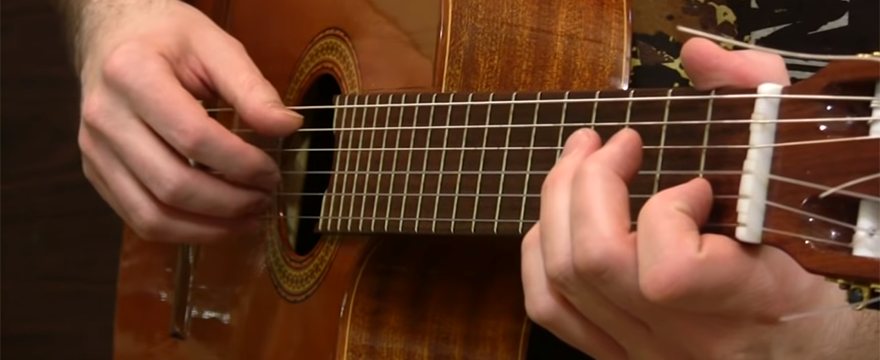
Fingerstyle guitar is applied within many different forms of guitar music. We will find it in; folk, blues, jazz, country and classical. For many guitar players, the classical approach is never fully developed. In this lesson, we will explore how to include the use of the plucking-hand’s; thumb, index, middle and ring fingers…
Q: I’m a little confused, because my first guitar teacher said that traditional American fingerpicking used the thumb and first two fingers. But, my new guitar teacher say’s that the way to play proper fingerstyle is to use the thumb and first three fingers.
They are both good teachers, but now I’m confused a bit. Overall, I’d like to get better with all three fingers & thumb – so could you talk about a few exercises that I can practice to develop; thumb, index, middle and ring approach and maybe clear up the confusion about the conflicting statements by these two guitar teachers.
– Dennis, Phoenix AZ.
A: Your question makes a loose comparison of the Classical guitar technique compared to the folk /roots finger-picking technique.
Classical technique requires the thumb, and first 3 fingers (as well as, the small finger). However, traditional folk /roots based finger-style will generally only use the thumb and the first 2 fingers.
When you listen to songs by; Merle Travis, Doc Watson, or John Hurt you’ll get a traditional folk fingerpicked style /approach, (that sound would be pretty tough to duplicate with the Classical technique).
For versatility – it sounds like you want to step up to using the three finger technique (used by the Classical players). To help you move into that direction, I’ve created a series of simple exercises that you can practice.
After approximately three weeks of study on these drills, you should notice that significant improvements to your fingerpicking will start to take place.
THE PICKING STUDIES:
Within the handout for this lesson, (download the handout below), I’ve created seven exercise examples that will help take you through several different types of picking pattern drills.
Each drill will expand upon the way that your fingerpicking technique can be applied across a series of chord shapes.
EXERCISE EXAMPLES 1 – 4:
The starter studies (shown on page 1), will focus on the building up the technique of a single measure picking pattern that revolves around an 8th-note rhythm duration. Each of the patterns will establish picking coverage over two chord qualities per drill.
EXERCISE EXAMPLES 5 – 7:
The next group of picking drills, (see page 2), will expand coverage to include more rapid 16th-note picking patterns. These studies will flow across chords using both ascending and descending arpeggio based patterns.
SONG PRACTICE:
The final exercise example will focus on applying the principles demonstrated in the previous seven drills.
Make a study of the full-length example piece provided in the handout (page 3). Develop your skill for performing the patterns smoothly up to a level where you can turn on a metronome and perform the entire piece in time.
- Click the button below to download the lesson handout
(access to lesson material will require a FREE membership)
